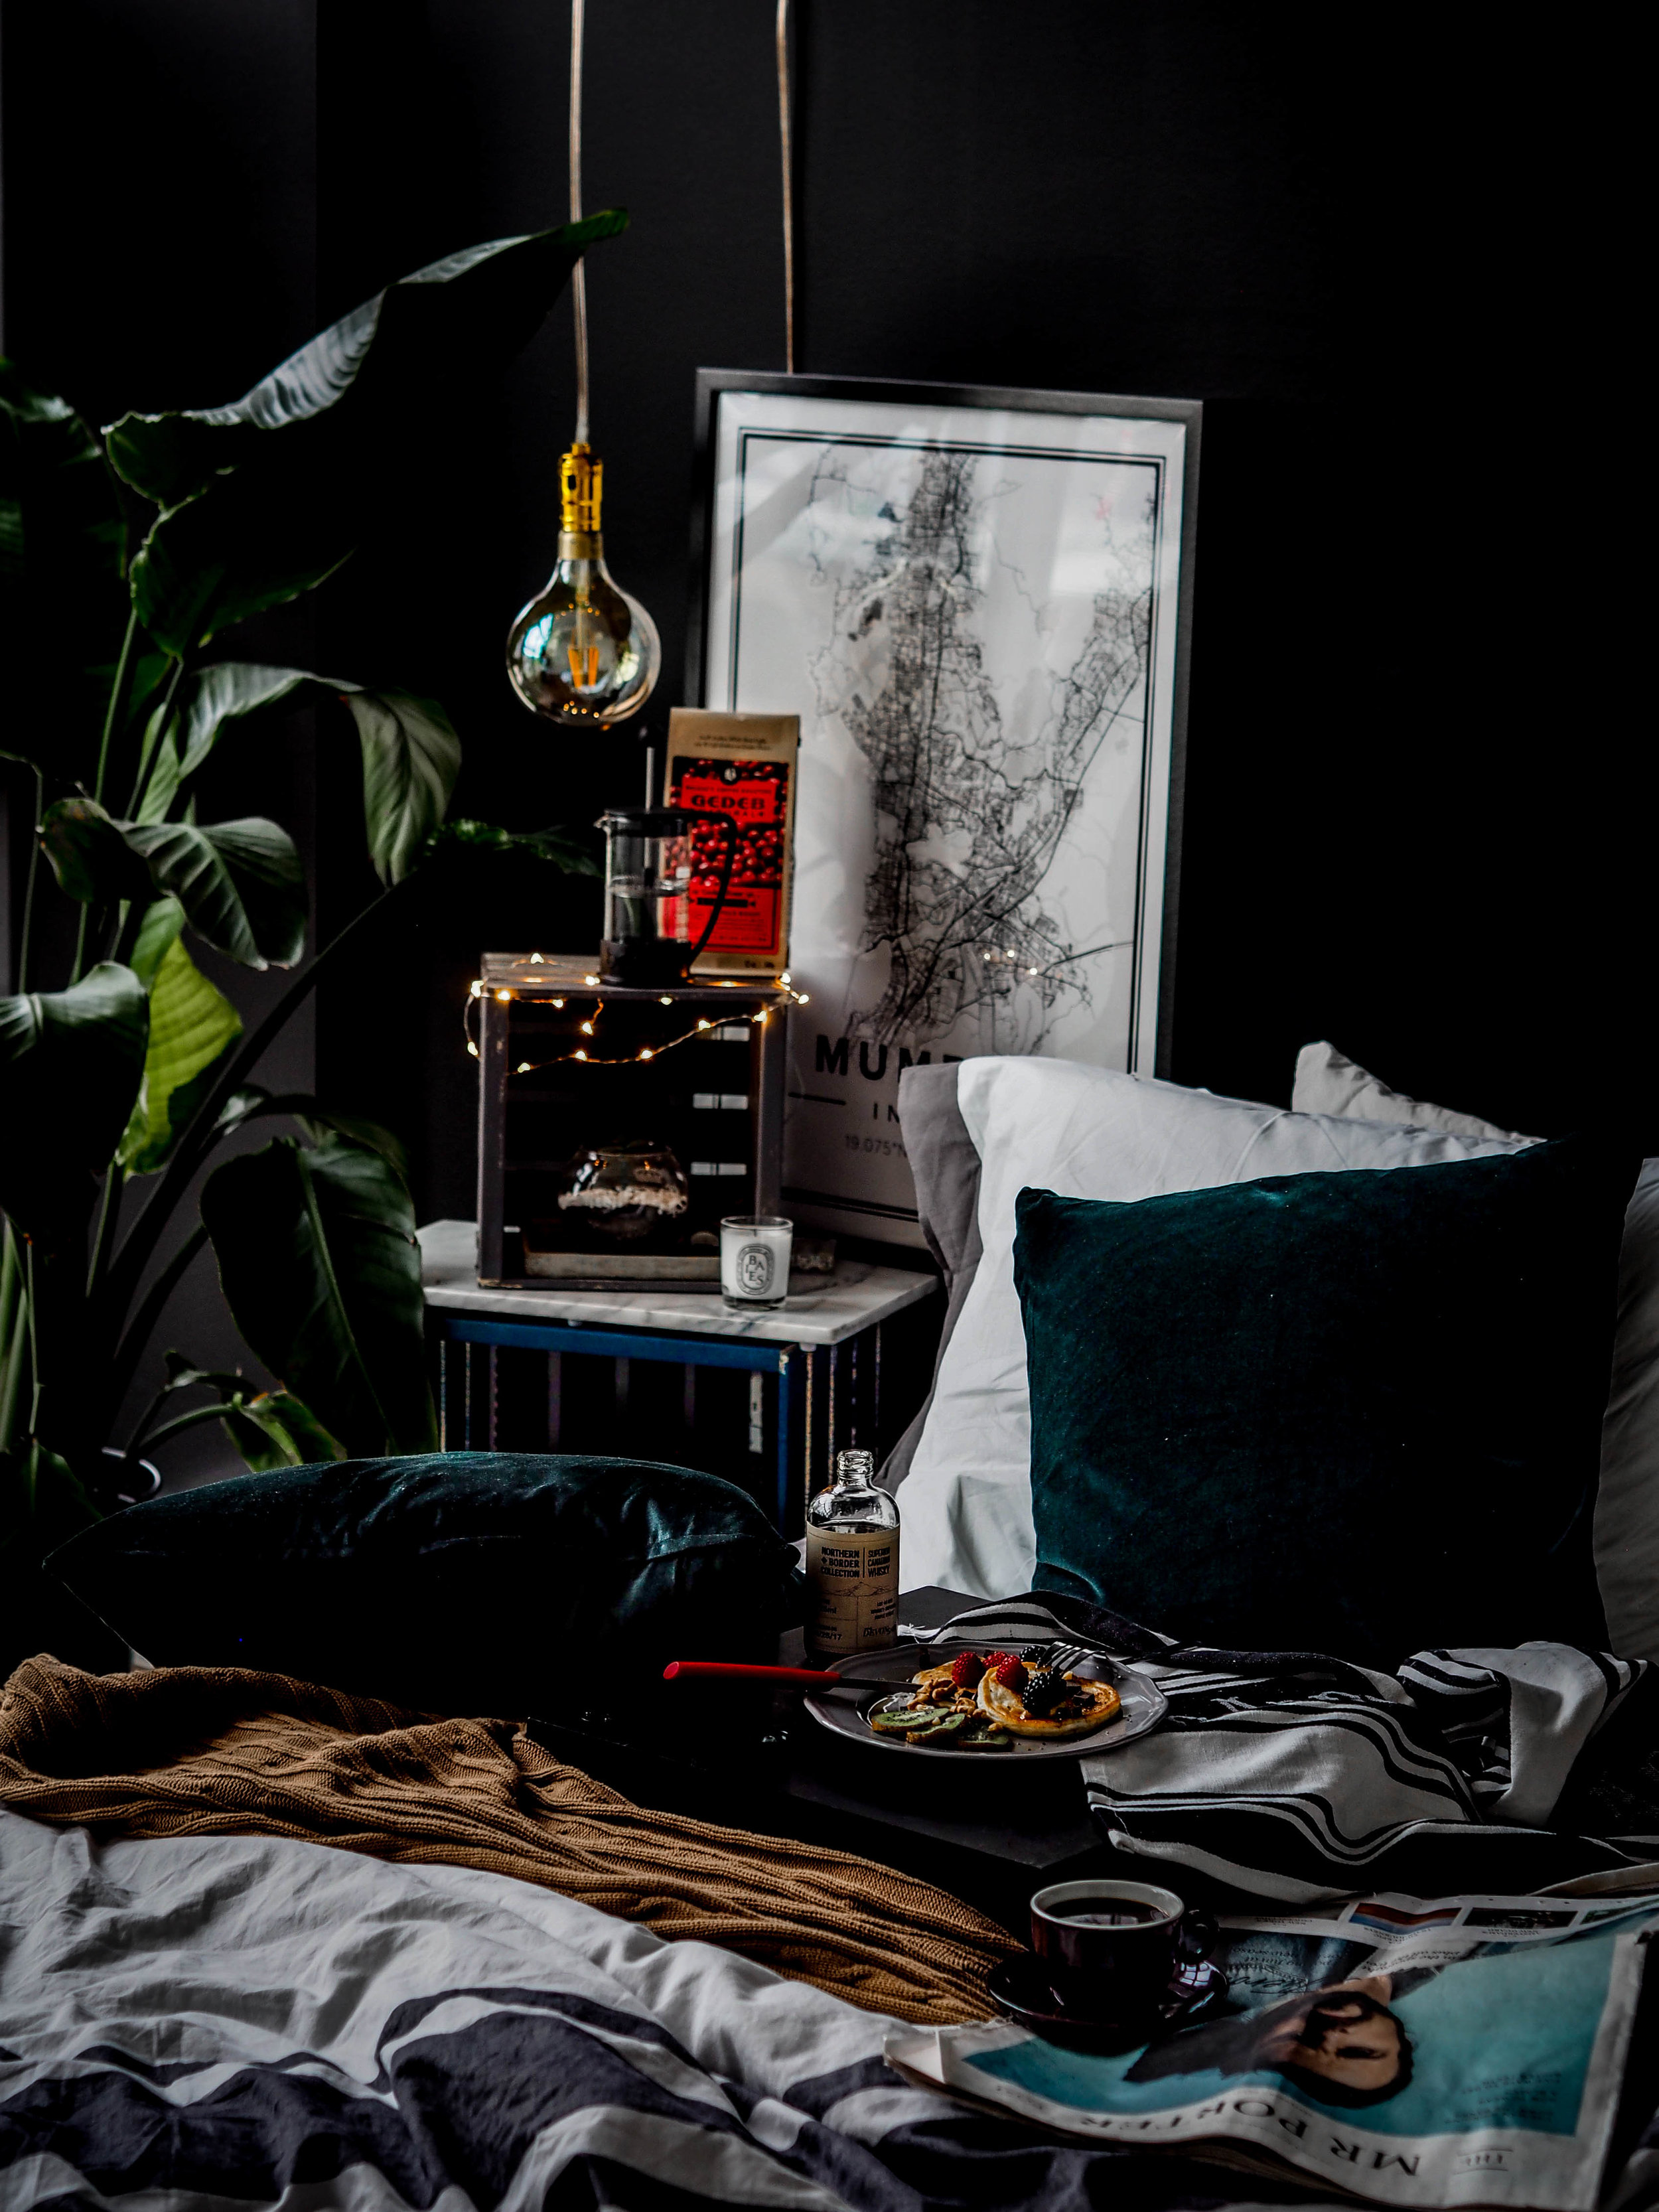
Welcome To My DIY Bedroom
Simple, Minimal, Industrial.
It’s been a hot minute since I shared a post on the blog but don’t worry I haven’t forgotten about you. I’ve been occupying my time with some exciting DIY projects for my apartment. When I first moved into my place, I had a short timeline to furnish it. My parents were visiting me from Calgary at the time and since they rented a car, they wanted me to purchase the basics prior to their departure back home. By default, several IKEA trips were made. Don’t get me wrong, there’s nothing wrong with IKEA, I love it however I wanted to balance the basics with some unique pieces that makes my space feel unique rather than a cookie-cutter downtown apartment.
I have the personality that constantly craves change, especially when it comes to the environment I’m in (perhaps it’s the creative in me that always wants more!).
After scrolling through endless Pinterest inspiration boards constantly pinning ideas, I told myself it was time I finally got around to furnishing my apartment the way I originally envisioned it. I’ve been putting it off and procrastinating for too long, six months to be exact and today, I’m excited to share with you the almost-final results of my bedroom. A few decor pieces are missing and I’ve still yet to chalk up my wall but nonetheless, I love the way it’s looking so far.
DIY PROJECTS

Bed Frame

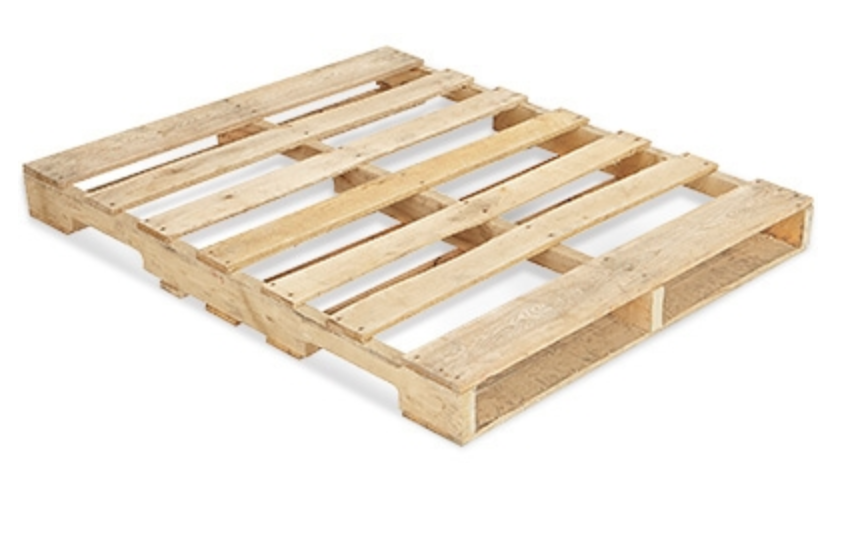
A trend I’ve been noticing a lot on many Pinterest boards are wood pallet beds. Originally, I had a solid-wood bed frame from EQ3. While it was great, I somehow disliked the fact that the bed frame was higher than I personally would like my bed to be. Although the bed frame was perfect for under-the-bed storage, it mostly just collected dust and allowed me to secretly hide things (and by hide I mean hoard...guilty!). An easy solution and something that only costed me a fraction of the cost of the original bed frame I had was creating a platform bed.
To risk not getting infested wood from a non-trusted source for wooden pallets, I decided to do some research online for a trusted source. Instantly, I came across U-LINE. They are an online shipping supply store that sells wooden pallets made from both new and recycled wood. In addition, they also sell metal wooden pallets. To cut costs, I opted for recycled wood at $17/palette. If you’re unsure on how many pallets you need, for a queen size mattress, I required six 30x30 pallets. The best part about U-LINe is that they deliver straight to your door. Easy peasy.
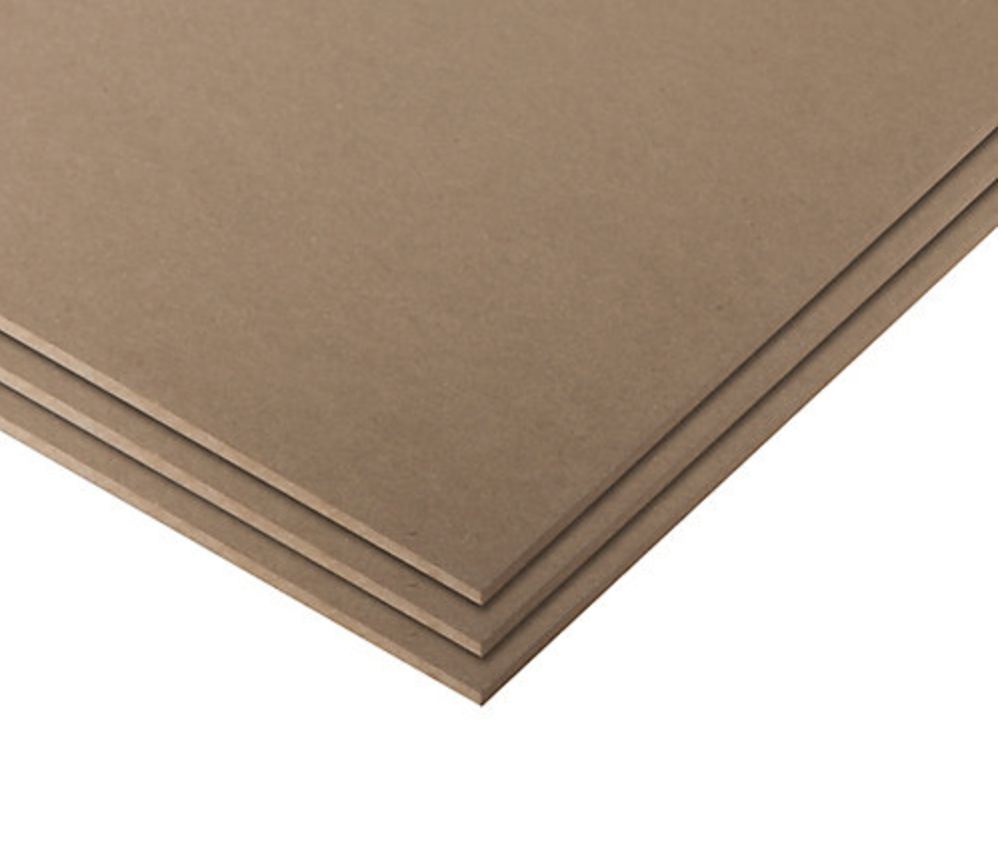
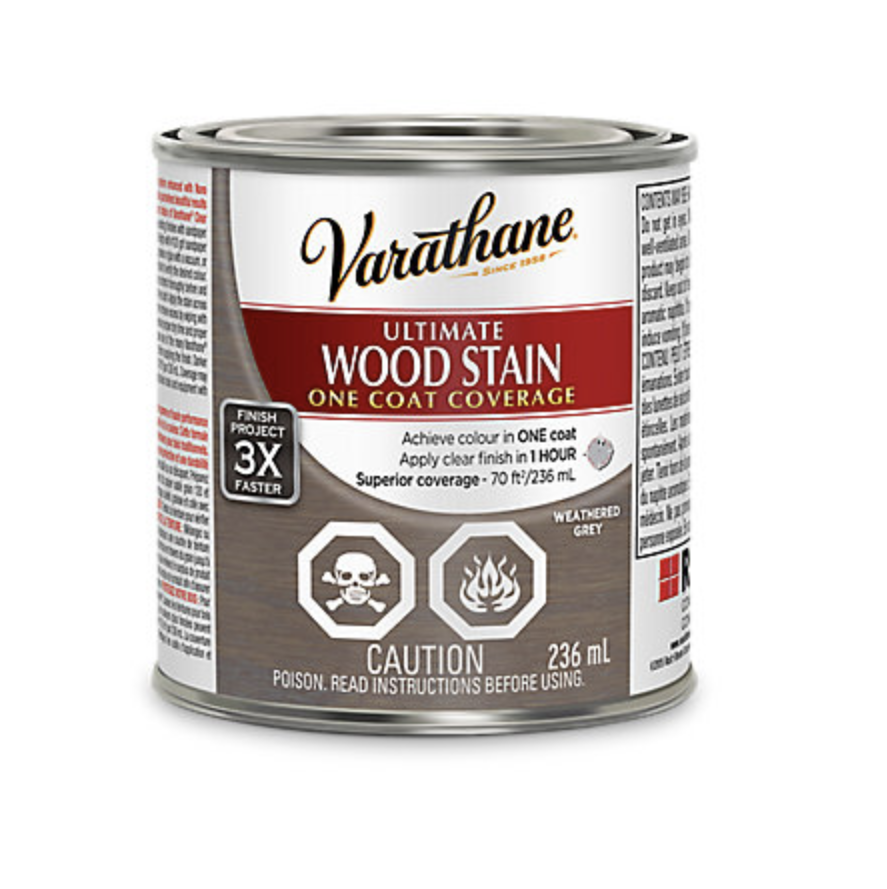
As beautiful as it looks on Pinterest to put your mattress directly on the pallet, I soon realized it wasn’t the smartest move. Since the wood I opted for was made from recycled wood, it began scratching up the bottom of my mattress. To avoid this, you can sand, stain and varnish the wood but if you don’t have the patience to do all that, an easy fix is purchasing sheets of wood. In comes Home Depot to the rescue. I got the sheets of wood cut to the size of two pallets and luckily Home Depot does this for you for free! Next, I screwed two pallets together and then nailed the wooden sheets both top and bottom to create the perfect platform bed.
Pro-tip: Paint or stain the sides of the wooden pallets to give it more character.

Night Stand

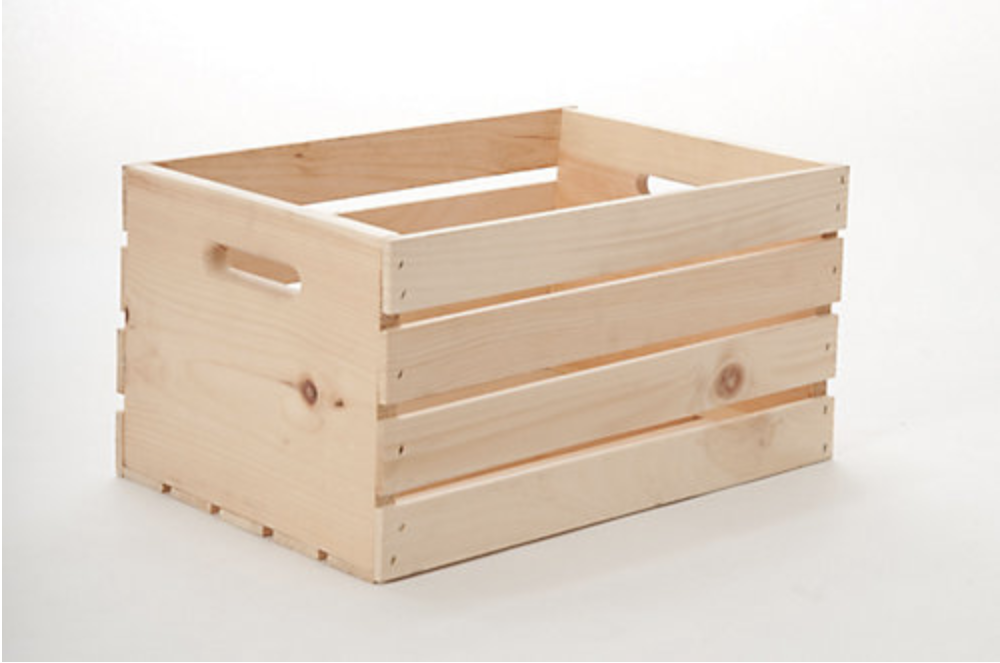
I’ve been keeping an eye out for a nice marble top bedside table/night stand but sadly, even the tiniest of night stands cost an arm and a leg. Add the word marble and game over. I knew there was something I could DIY to create a unique night stand. I had two wooden crates sitting in my apartment from a PR package I received over the summer. With Pinterest inspiration to the rescue, two crates, a little bit of paint from Home Depot and a marble pastry board from Winners, I was able to create a nightstand that nailed all my requirements for a bedside table.
I painted the larger wooden crate a deep blue and placed a marble pastry board that I picked up from Winners on top. Next, I painted the smaller crate slate grey and placed it on top of the marble pastry board. The larger wooden crate made for a perfect book/magazine stand and the I placed a succulent in the smaller one. Decorate with a few LED twinkle lights (optional) and voila! You’ve got a multifunctional marble top bedside table.
Variation: You can get two wooden crates the same size and place both horizontally. Example here.

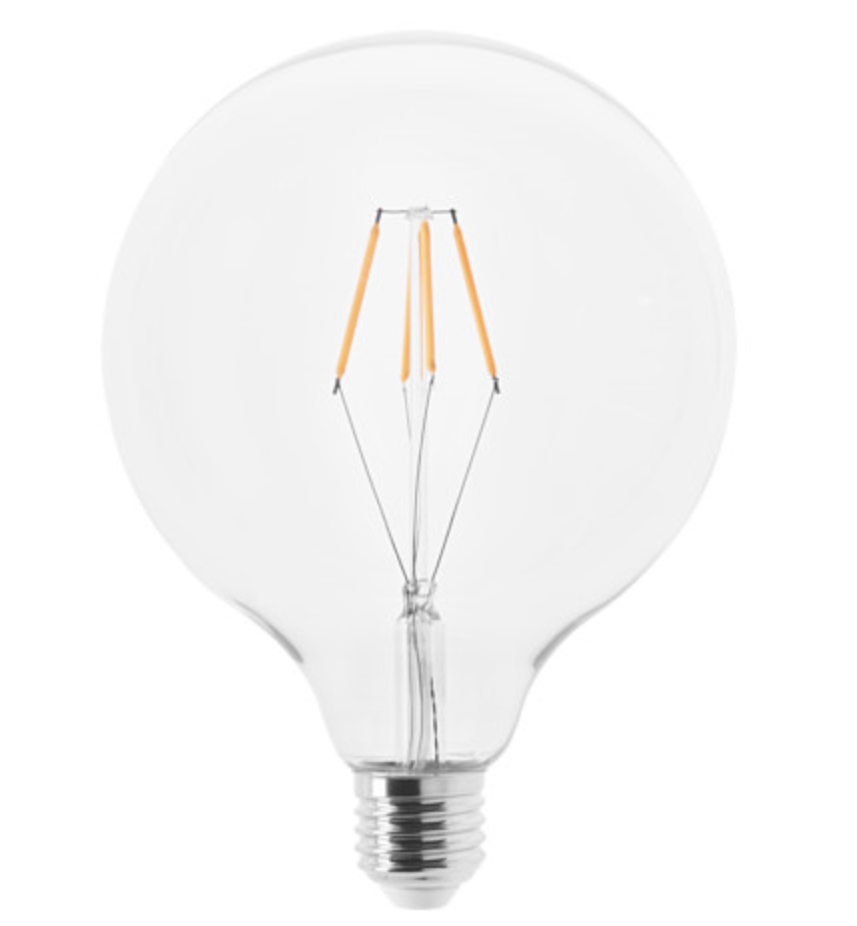
Hanging Edison Bulb
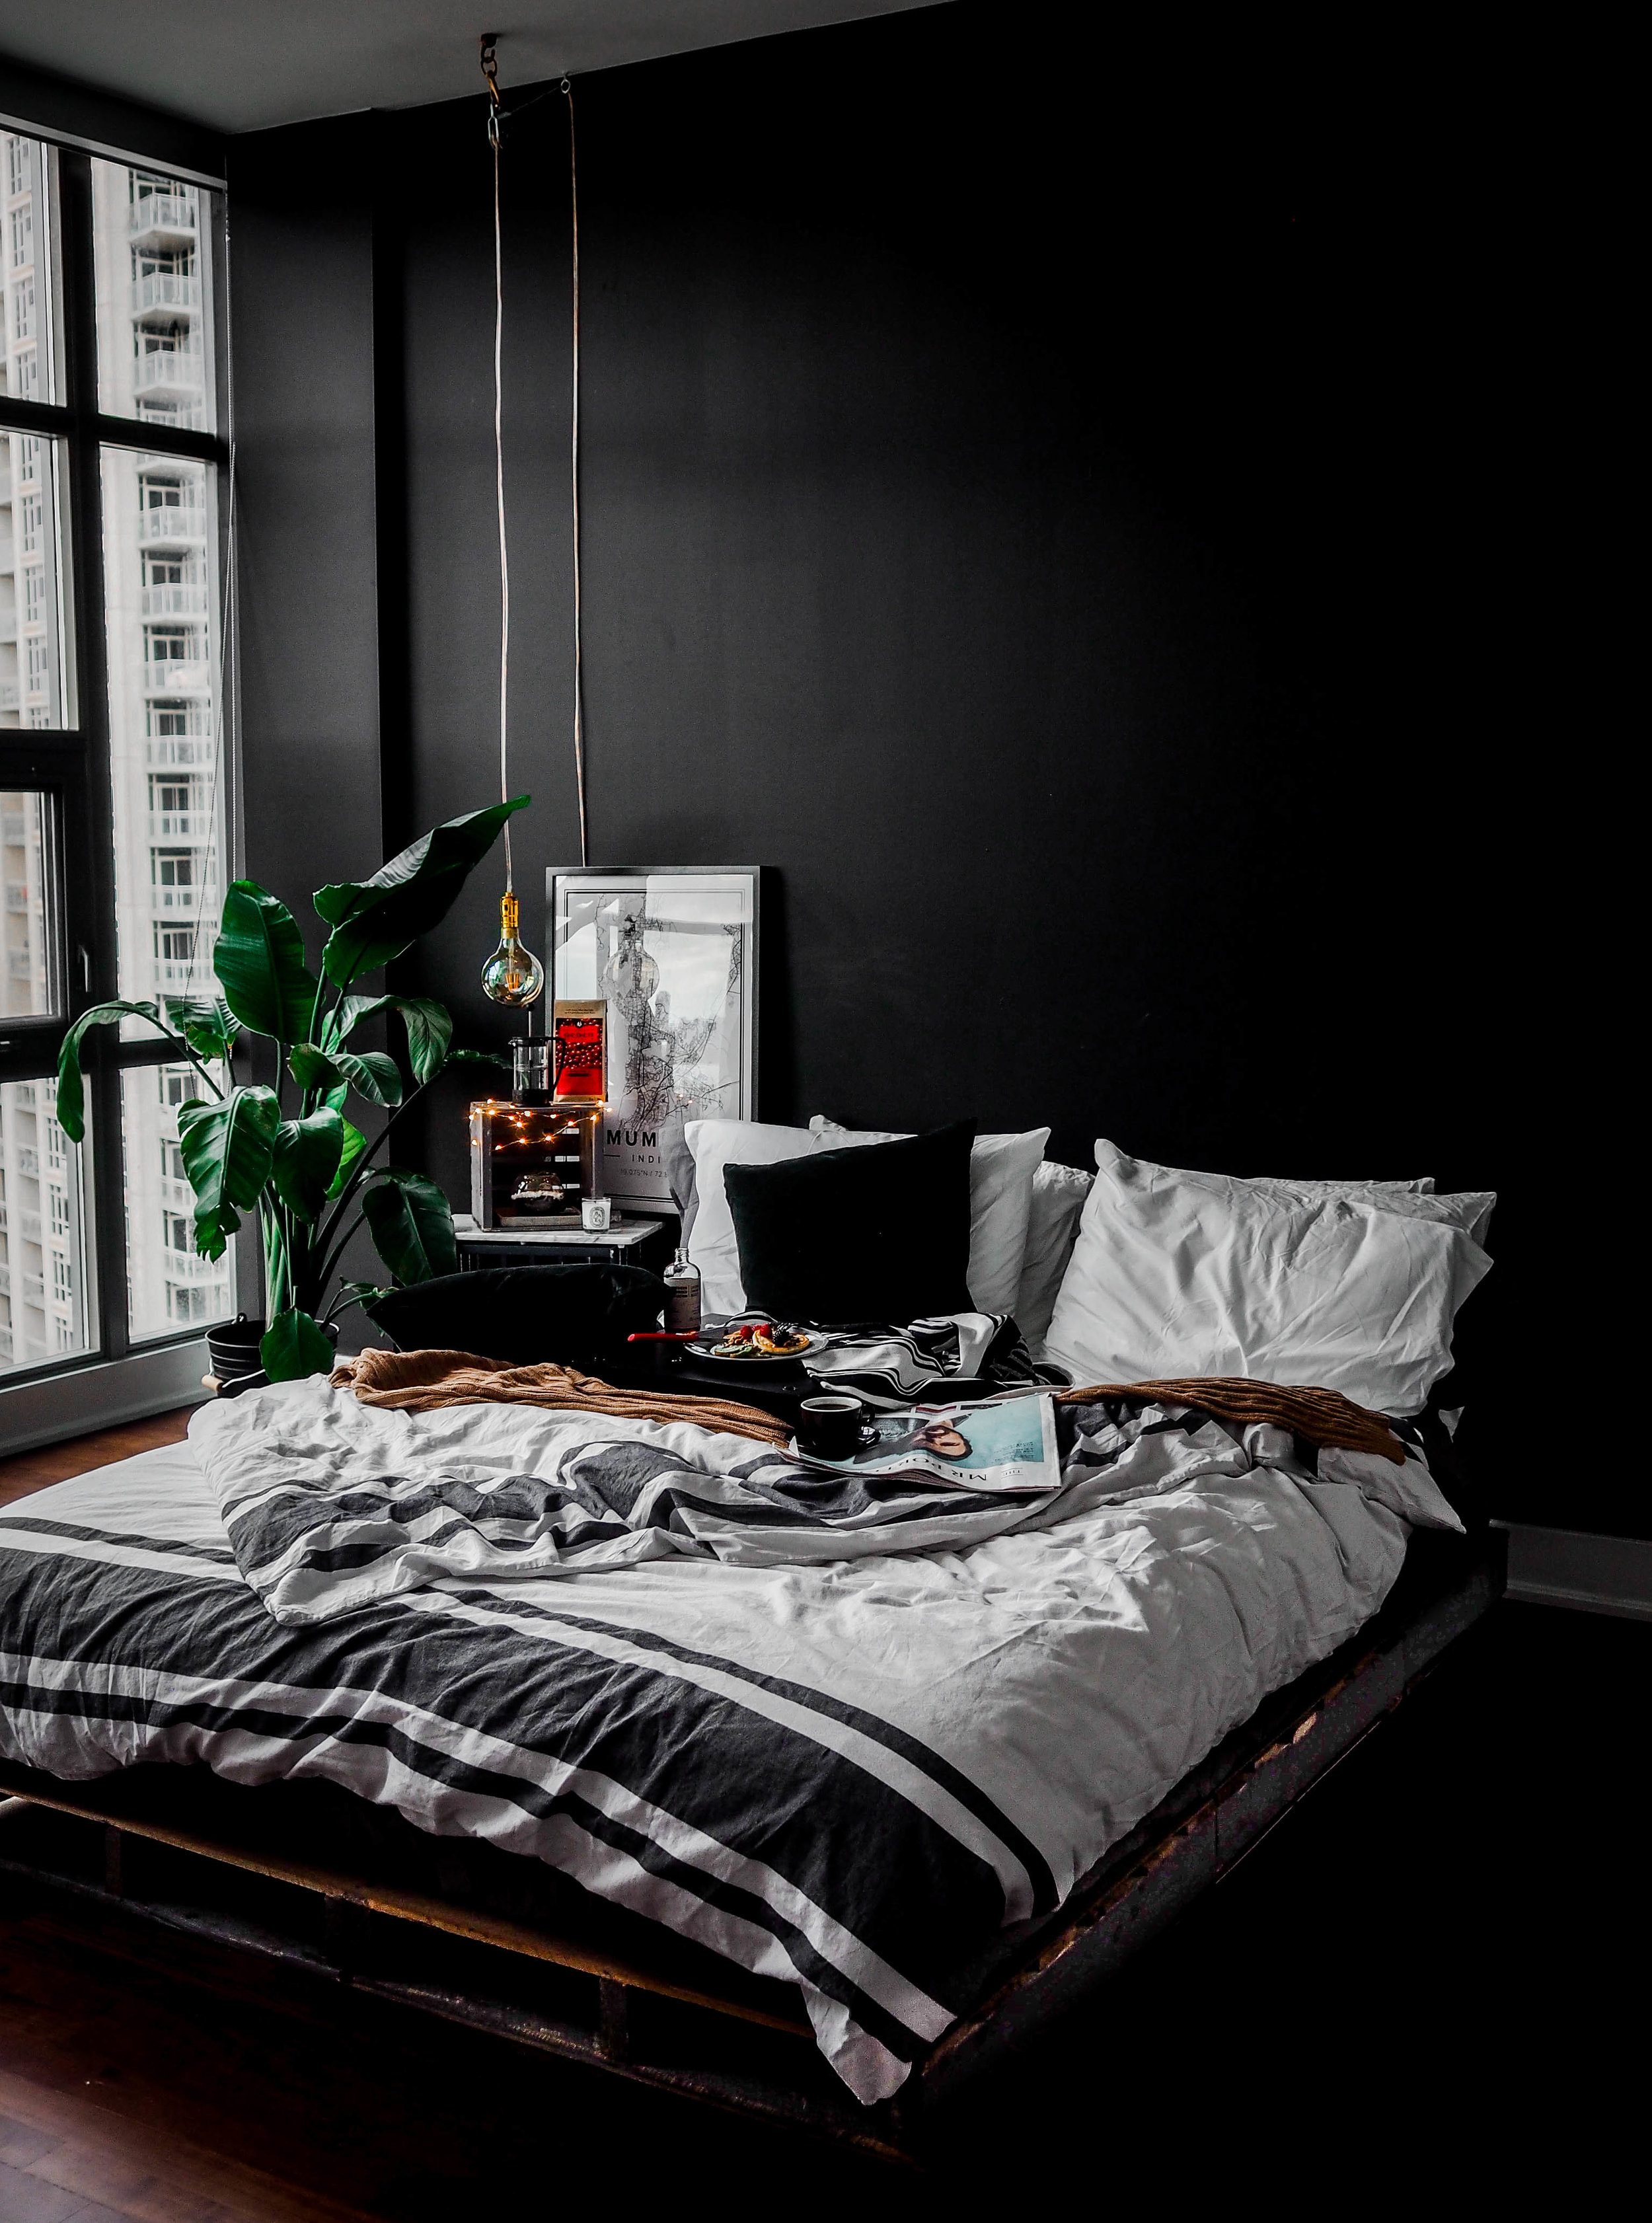
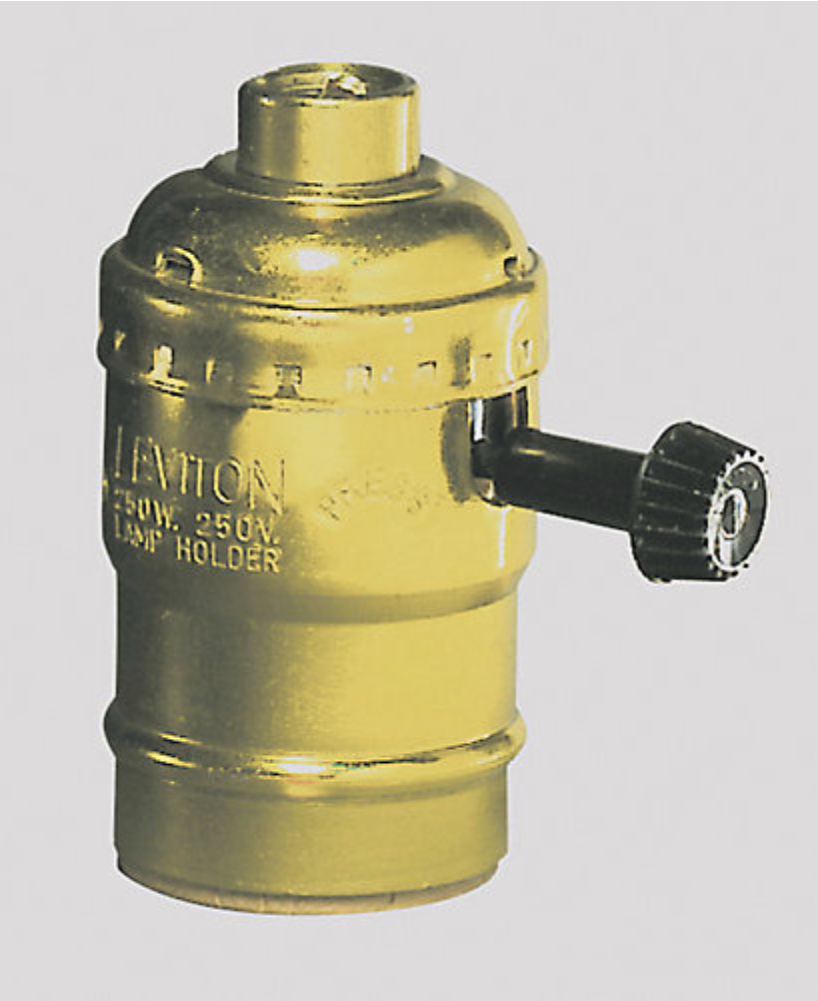
Who thought a hanging bulb would look so cool? If there is one lighting fixture that perfectly epitomizes the modern-industrial trend then it is the Edison bulb light. The bright and brilliant tungsten filament is no longer a relic of the past. The best part about it all is how you can craft a Edison bulb pendant and break no sweat, seriously.
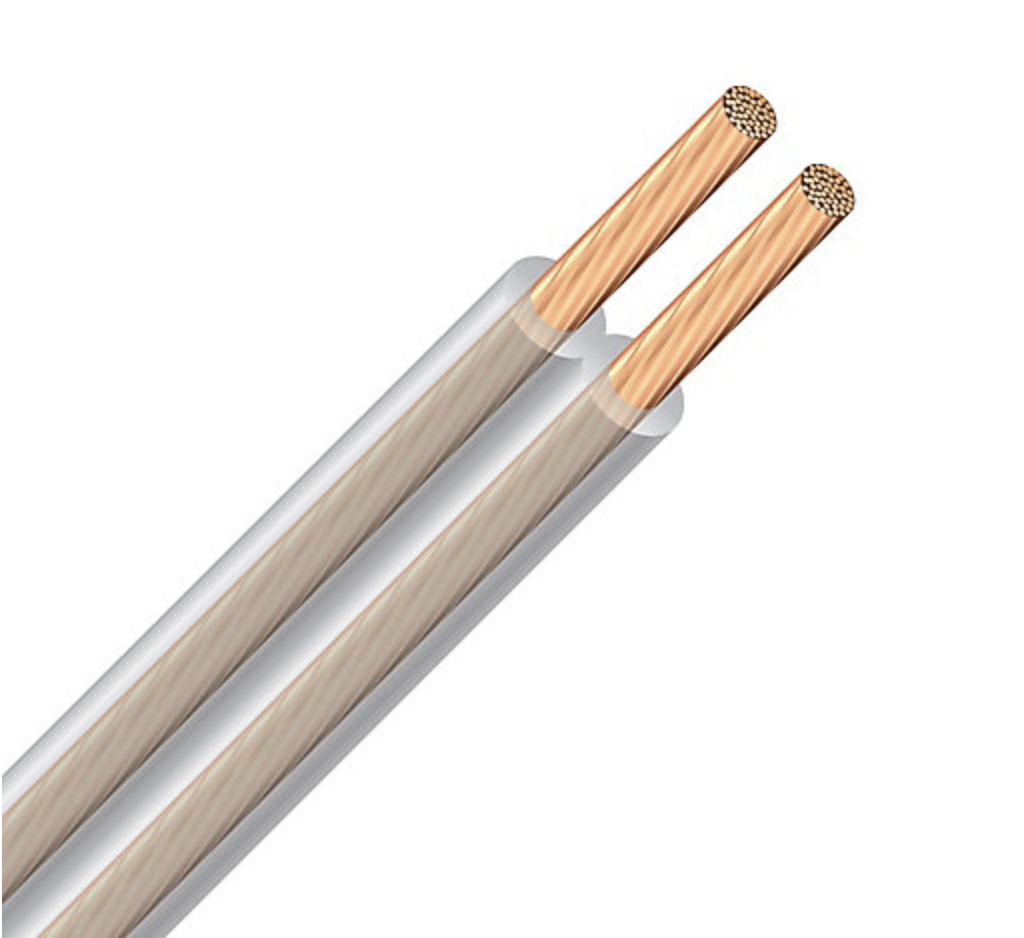
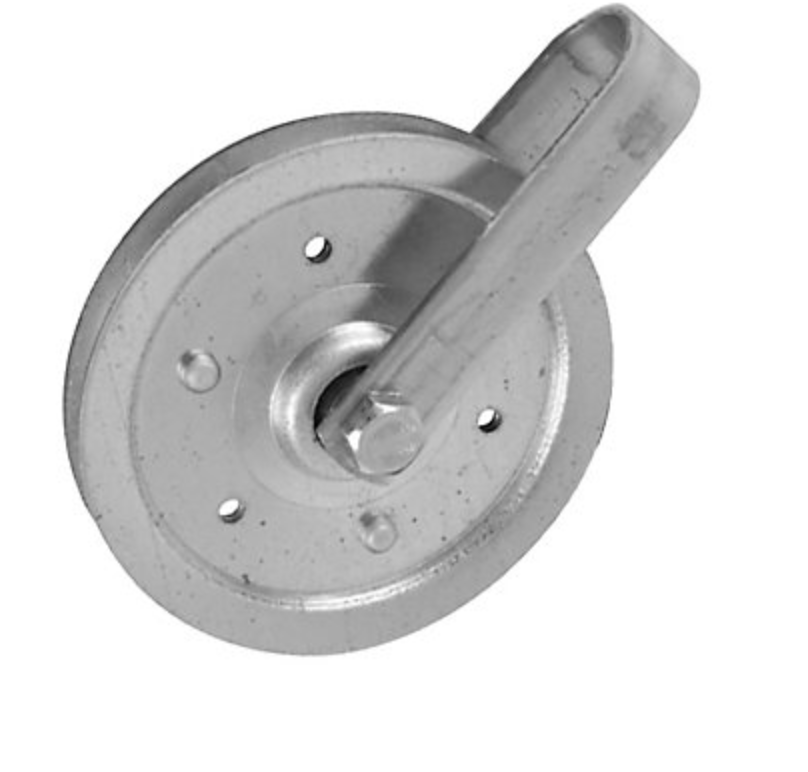
All I needed for this little DIY project was wire, a bulb and a pulley to hang it from the ceiling - all of which are available at Home Depot. However, if you want to save a few extra dollars, IKEA recently started carrying a wide range of Edison bulbs. I managed to pick one up there.
The procedure of installing this lamp is relatively simple but if you're not handy like me when it comes to electrical wiring, this YouTube video by 1000bulbs.com explains the process very well!
Variation: Get a wall bracket from IKEA and screw it directly into the wall. Now, you can wrap the cord around the wall bracket instead of hanging it from the ceiling. Example here.

Shopping Cart
(Click on image to access direct link)
Are you inspired to do your own DIY? I'd love to know in the comments section below!